Step 6
Install and pair Coop Relay
Download the notarized Relay, point it at your API, grant permissions, and pair it to the organization.
The Mac is part of production. It must remain signed in to Apple Messages, powered on, awake, and online for sending and synchronization.
1. Prepare the Mac
- Use macOS 14 or later.
- Sign in to Apple Messages and send a test iMessage manually.
- Assign a company owner for the Mac and its Apple Account.
- Disable automatic sleep while the Mac is acting as Relay, subject to company security policy.
- Keep enough disk space for Messages history and attachments.
2. Download and install Relay
Use the published universal build instead of compiling Relay from source:
Download the latest notarized DMG
This stable link always points to the newest Relay release that passed signing, Apple notarization, Gatekeeper, Sparkle signature, and public checksum verification. Open the DMG and move Coop Relay to /Applications.
The published app uses https://api.txtcoop.com by default. Before pairing a self-hosted installation:
- Open Coop Relay.
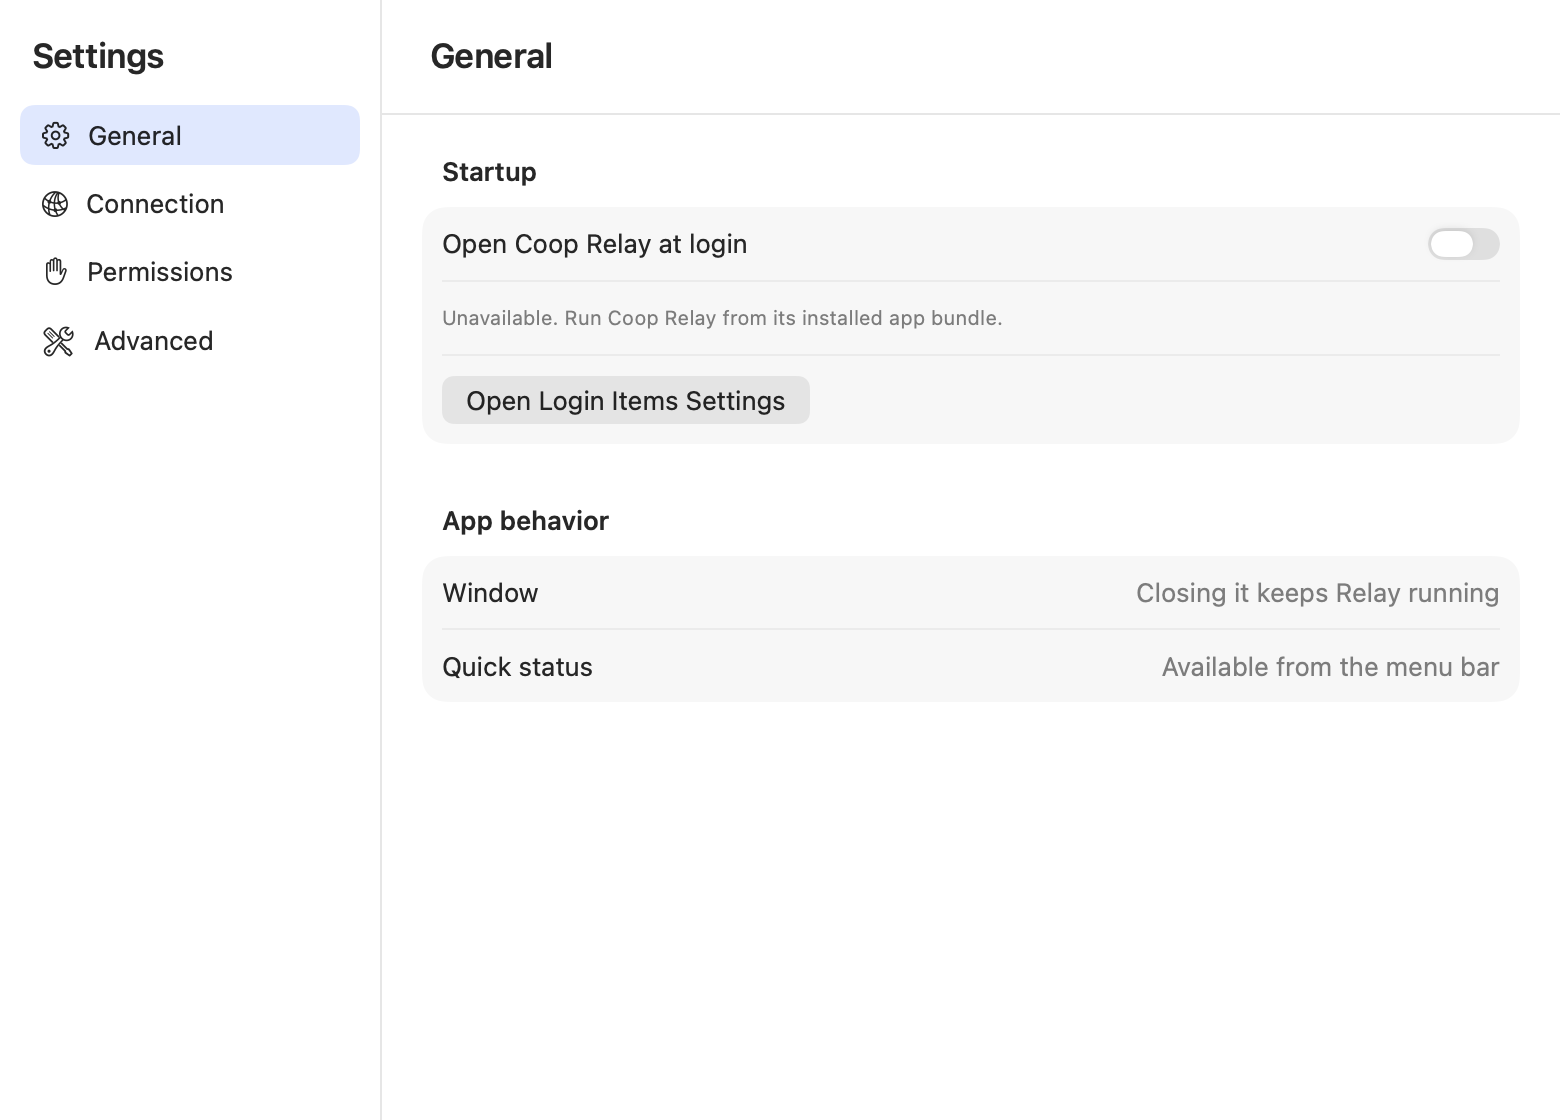
- Open Settings → Advanced.
- Enter your API origin in Server URL, such as
https://coop-api.example.com. - Select Save and confirm Active Server URL shows the same origin.
Use the API origin only. Do not add a path or trailing slash. You do not need to rebuild or re-sign Relay to change this URL.
3. Install and grant access
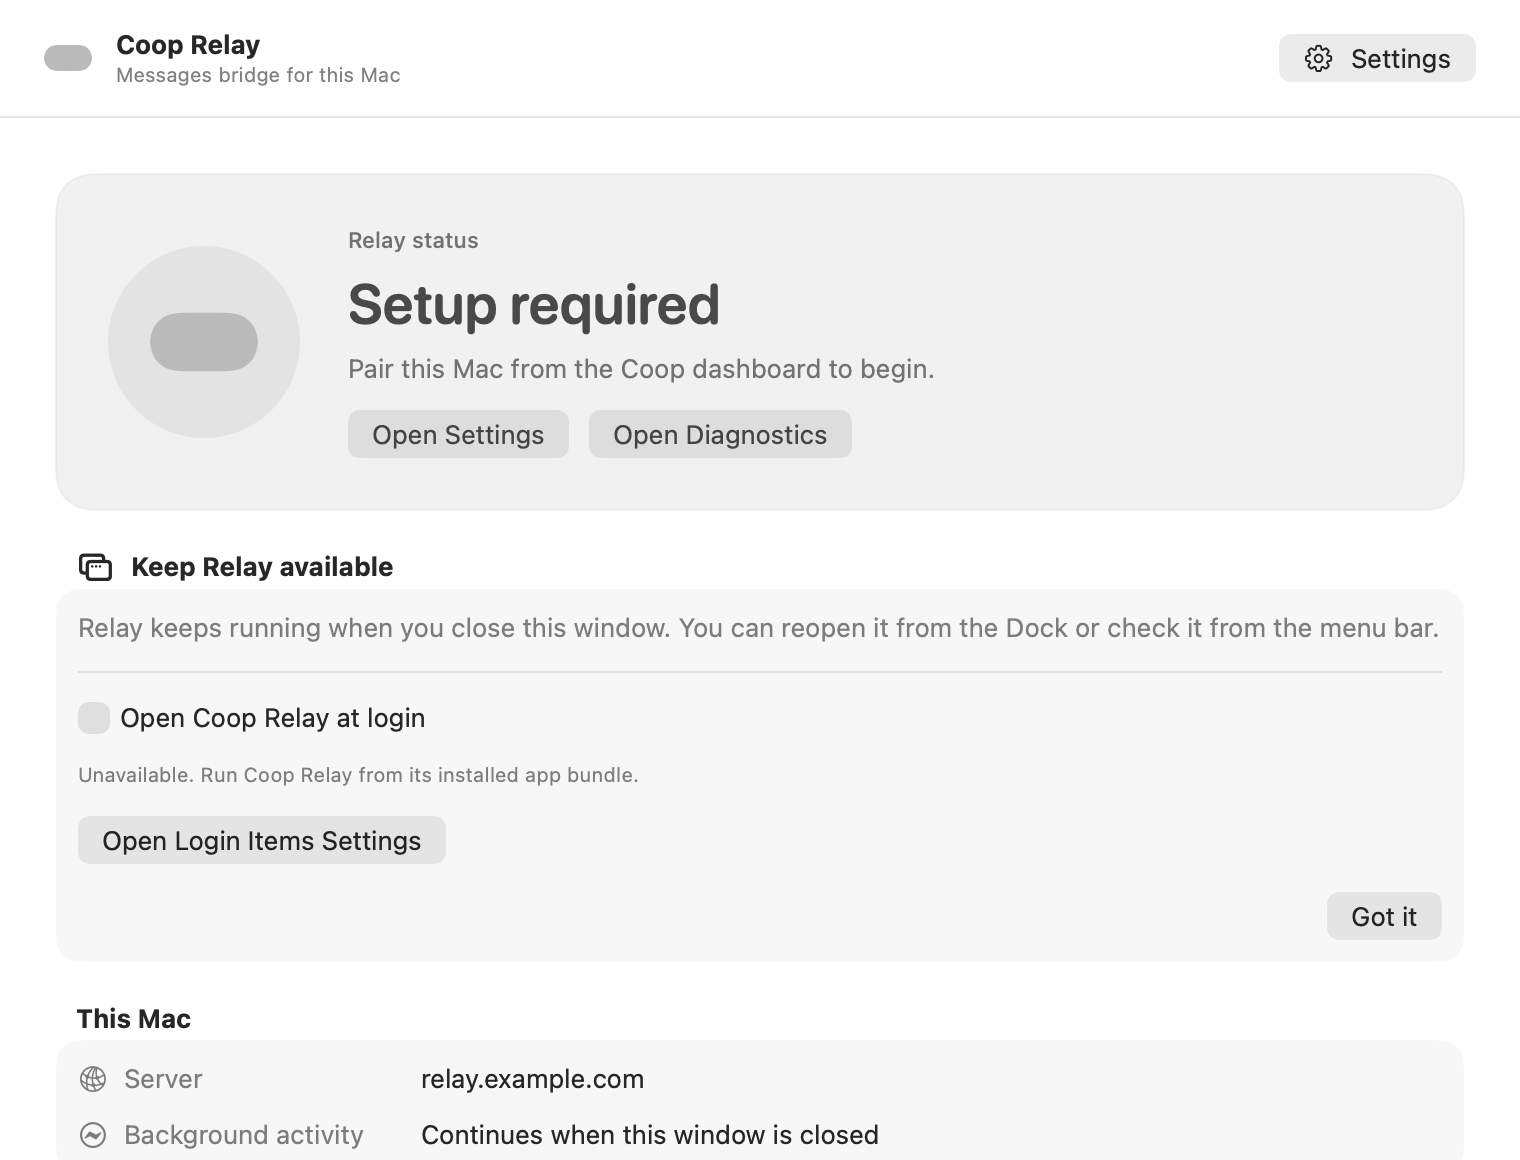
Keep the app in /Applications before making it a login item. Open it and follow the prompts for:
- Full Disk Access, so Relay can read the local Messages database.
- Automation access to Messages, so Relay can send.
- Contacts access, so the dashboard can show permitted names and addresses.
macOS permissions attach to the signed application identity and install location. A successful terminal test does not prove that the installed app has the same access.
4. Pair the organization
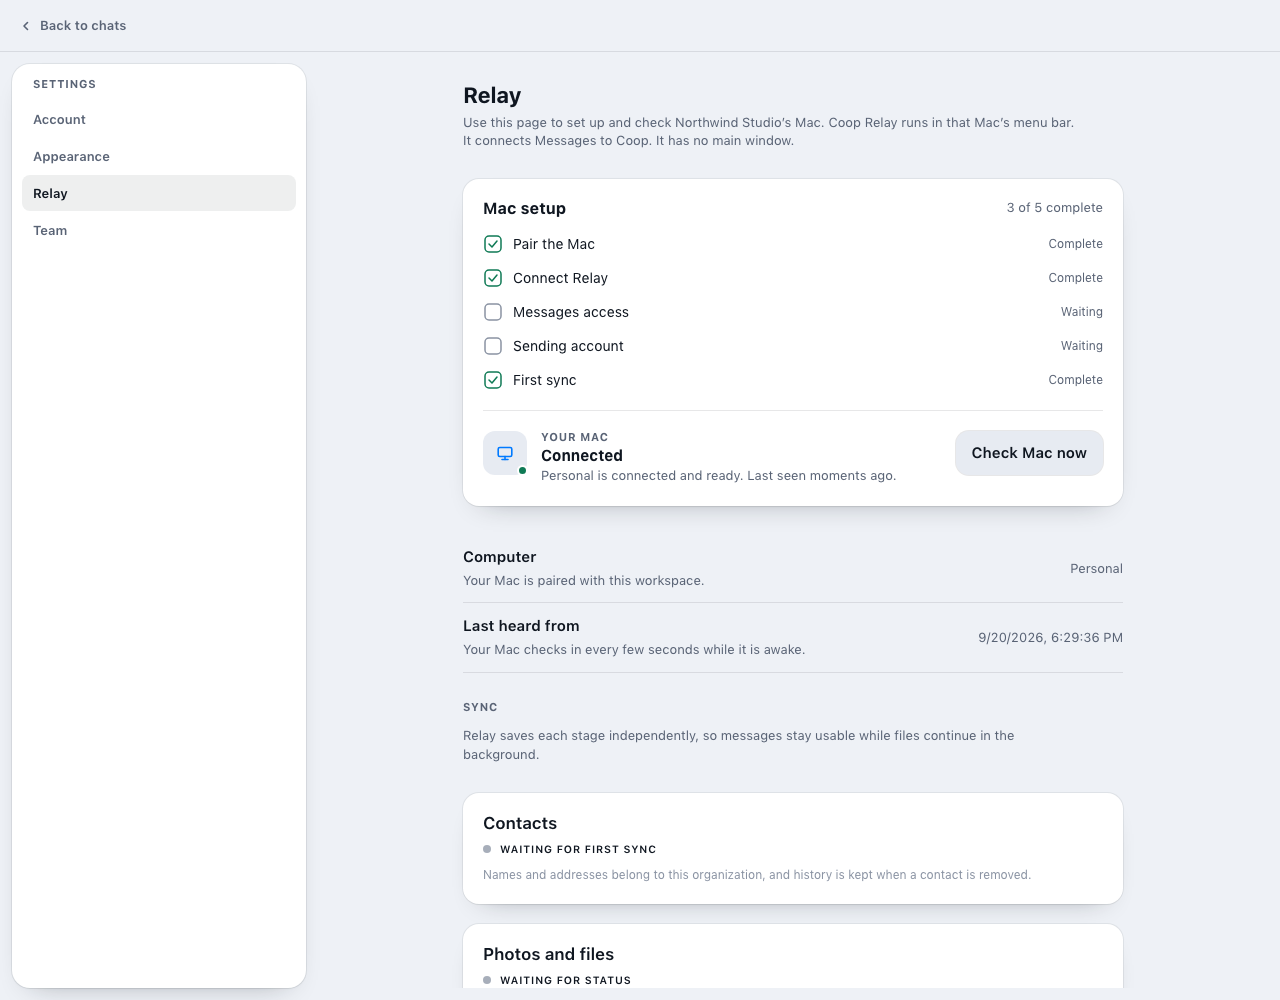
- Sign in to the dashboard as the organization owner.
- Open Relay settings and create a pairing grant.
- Enter the one-time grant in Relay before it expires.
- Confirm that the dashboard shows the Relay as ready.
The server returns the Relay credential once. Relay stores it in Keychain. Resetting or moving Relay requires a new pairing flow.
5. Choose team access
Select the history range to synchronize. Then configure which contacts, unknown conversations, and groups the team can access. Do not treat a completed history scan as proof that Apple has downloaded every older attachment to the Mac.
6. Verify installed behavior
Enable Open Coop Relay at login only after the app is in its final location. Log out and back in, then confirm Relay starts quietly in the menu bar and returns to ready. A Swift build or unit test cannot prove this macOS behavior.