

Step 3
Set up Clerk
Create the production sign-in application and add the verified email claims that Coop invitations require.
1. Create a production application
Create a Clerk application for Coop. Configure the sign-in methods your company permits. Before inviting real users, make sure the application is claimed and in production mode. Development keys and temporary instances are not production credentials.
2. Copy the three values Coop uses
You need:
VITE_CLERK_PUBLISHABLE_KEYfor the browser dashboard. It normally begins withpk_and is public by design.CLERK_ISSUERfor the API. This is an HTTPS origin with no path or trailing slash.CLERK_JWKS_URLfor the API. This is the issuer’s HTTPS JWKS endpoint and includes a path.
The API validates the token signature, issuer, session, expiry, and authorized dashboard origin. Coop does not need a Clerk secret key for its normal dashboard authentication flow.
3. Add verified email claims
In Clerk, open Sessions → Customize session token and save:
{
  "email": "{{user.primary_email_address}}",
  "email_verified": "{{user.email_verified}}"
}
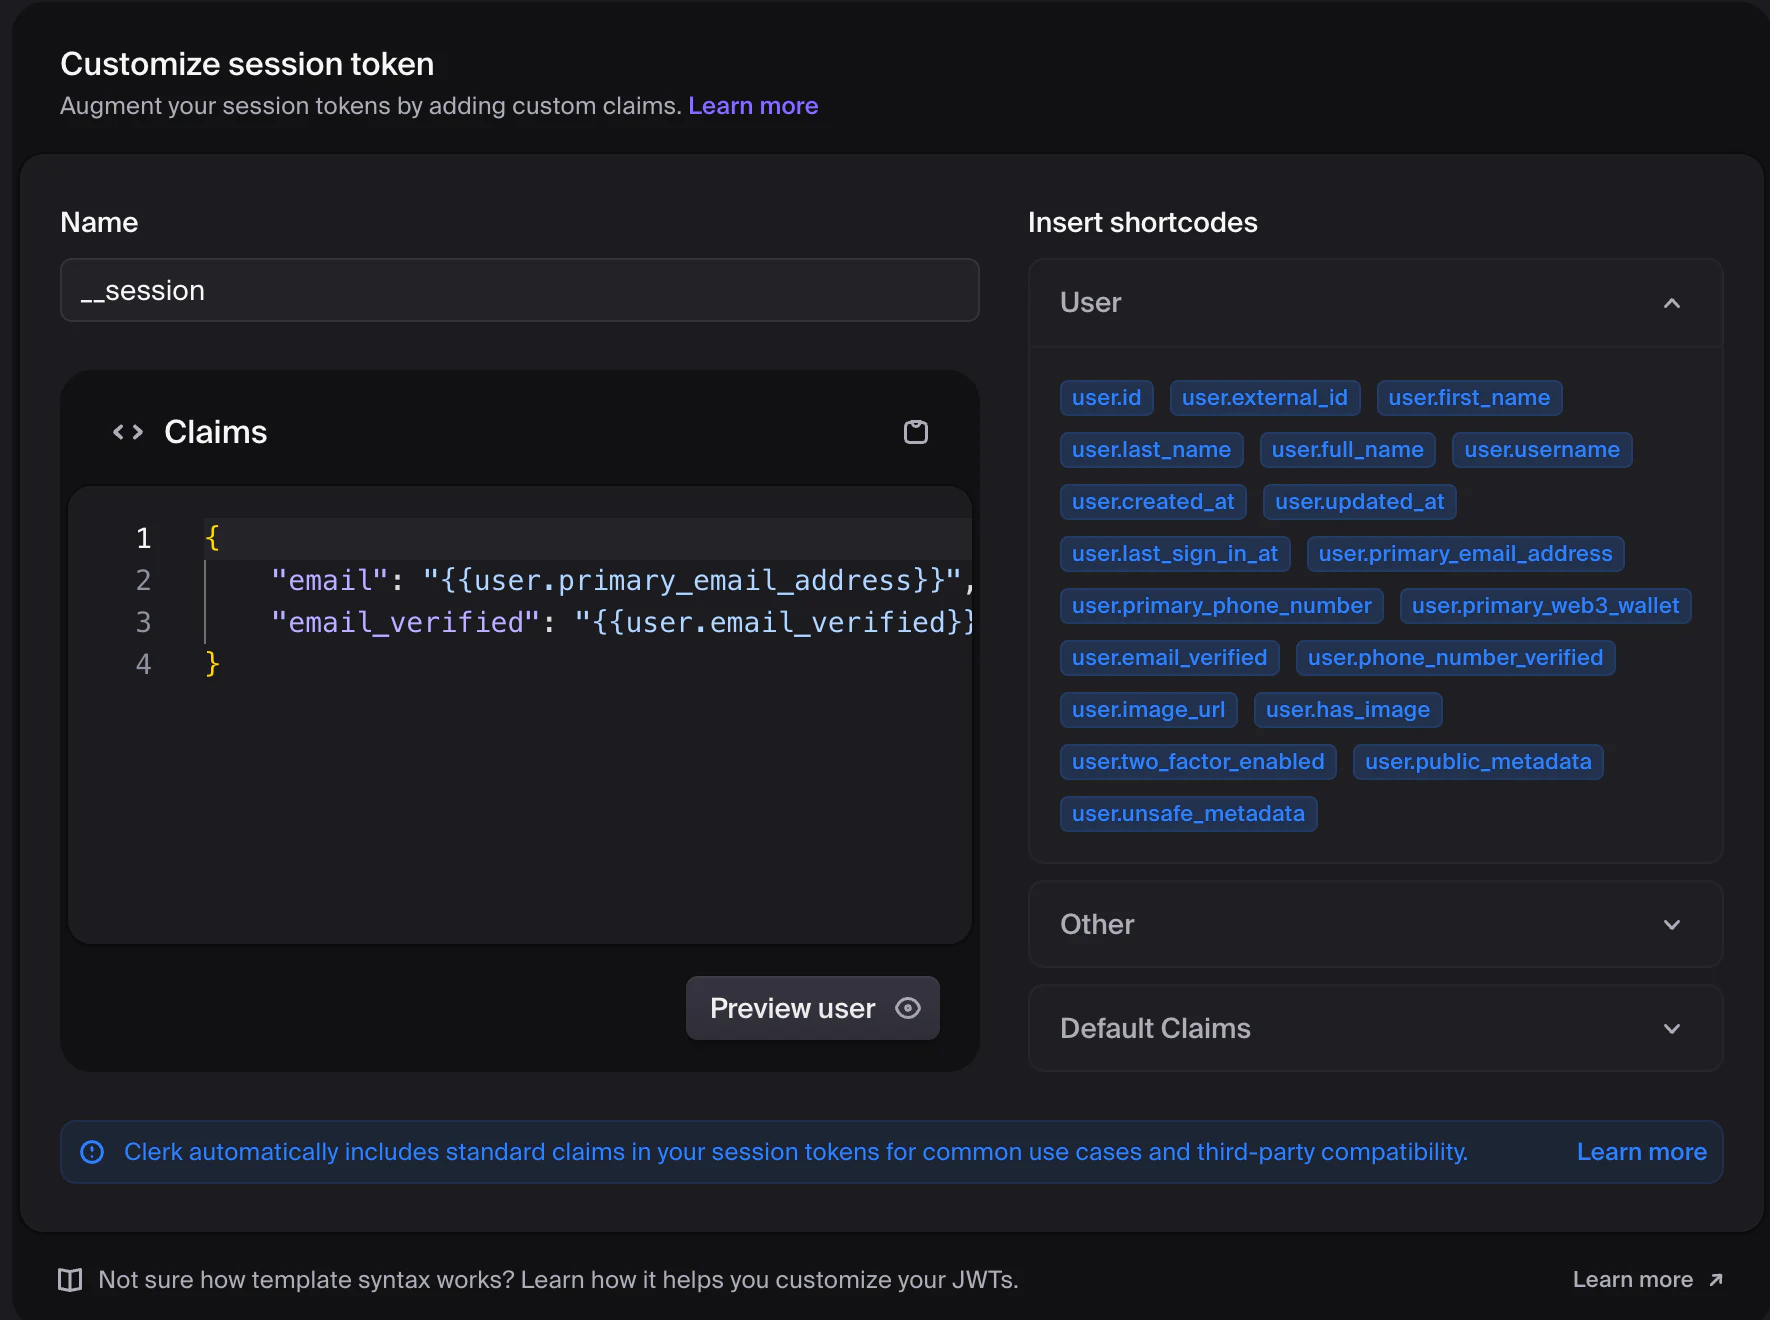
__session token.Use the custom session token, not a separate JWT template. Coop needs the normal session ID. Existing members can sign in without these extra claims, but accepting an invitation requires a provider-verified email.
4. Allow the dashboard domain
Add the production dashboard domain in Clerk’s production domain settings. If you start on a provider URL and later move to a custom domain, update Clerk and the API origin allowlist together.
5. Verify before inviting the team
After the dashboard and API are deployed:
- Sign in as the first owner.
- Create an organization.
- Create an invitation for a separate test email.
- Open the invitation in a private browser window.
- Sign in as that email and accept it.
If acceptance reports verified_email_required, inspect the active session token customization and confirm that the user’s primary email is verified.
Official reference: Customize Clerk session tokens.