

Step 4A
Deploy the API on Railway
Deploy the Coop API with a managed Redis service, safe migrations, and health checks.
Railway is the recommended API path for a first installation because the API and Redis can share one project and private network.
Deploy the API and Redis on Railway
The template creates a private Redis service and the Coop API with HTTPS networking, migrations, health checks, and a generated encryption key. It asks for the nine Supabase, Clerk, storage, and dashboard-origin values that Railway cannot generate.
The template uses a Feeble-maintained, verified Coop release internally. The installer does not need a GitHub account or repository URL.
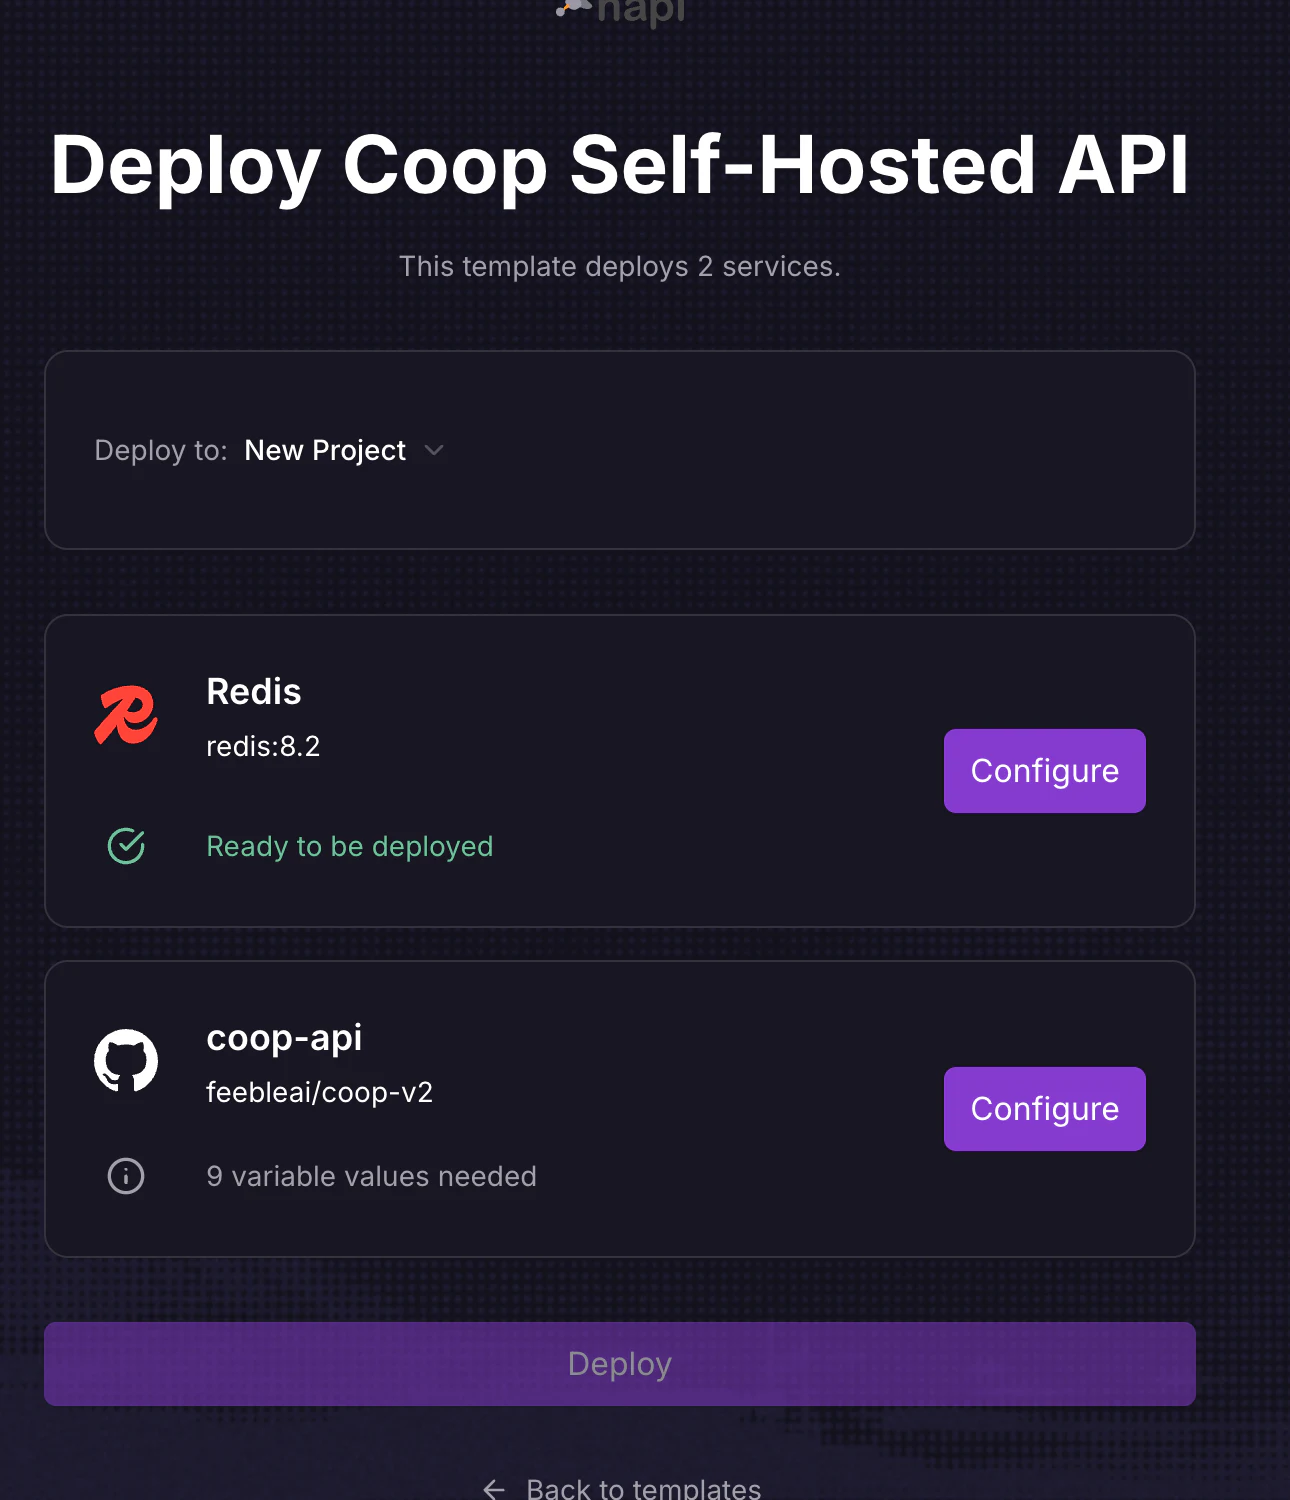
Use the button for the shortest setup. Use the manual source-upload steps below when company policy requires deploying from the local release folder.
Manual source upload
1. Create the project and Redis
Create a new Railway project. Add a Redis service from Railway’s service catalog. Keep Redis private. Copy its private REDIS_URL reference into the API service rather than exposing Redis to the internet.
Coop stores an encrypted, rebuildable search projection in Redis. Prefer a no-eviction policy when the provider exposes it. Backups are optional for this derived data, but silent eviction can make search incomplete until a rebuild.
2. Install and authenticate the Railway CLI
Follow Railway’s CLI installation guide, then sign in:
railway login
3. Create the API service from the release folder
From the extracted Coop release folder:
cd apps/api
railway init
Choose the project that contains the Redis service and create a service named coop-api. The included railway.json selects the Dockerfile, runs /migrate up before deployment, starts /api, and checks GET /health. Do not set HTTP_ADDR; Railway injects PORT and Coop binds it on all interfaces.
4. Set the environment
Add every variable in the configuration reference. Use Railway reference variables for Redis when possible. Enter secrets directly in Railway, not in Git.
Set CLERK_ALLOWED_DASHBOARD_ORIGINS to the final dashboard origin. If you do not know it yet, use the first Vercel or Cloudflare production URL and update it after adding a custom domain.
5. Upload the API
From apps/api, run:
railway up
Railway uploads the local API source. It does not need a GitHub repository.
6. Generate a public API domain
Enable Railway HTTP networking for the API service. Record the generated HTTPS origin. Do not include /health or a trailing slash when using it as VITE_API_BASE_URL.
7. Run the no-write preflight
Before trusting the deployment, open a one-off command on the API service and run:
/preflight --check-storage
This resolves configuration, validates the database URL, and confirms that the existing object-storage bucket is reachable. It does not create tables, buckets, or objects. The normal pre-deploy migration then creates or upgrades database tables.
8. Verify health
Open:
https://<your-api-domain>/health
Expect HTTP 200. A 503 means the process is running but PostgreSQL is not ready. A failed deployment usually means configuration validation or migration failed; inspect the deploy log without copying secrets into a support request.
Official references: Railway templates, Railway CLI, and railway up.